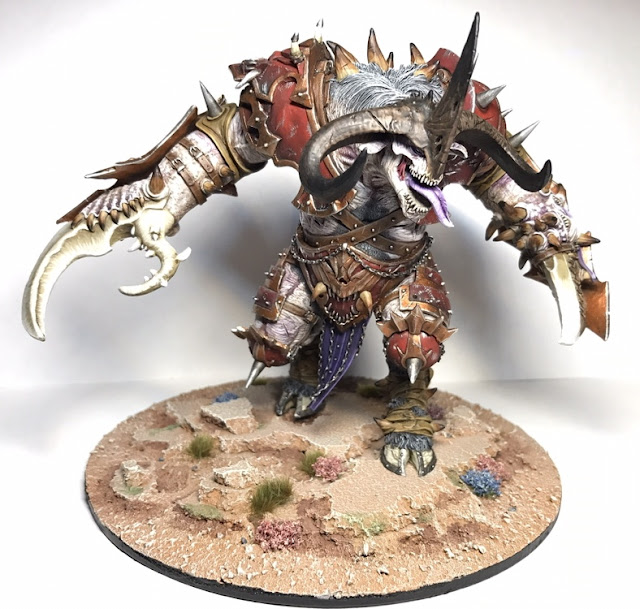
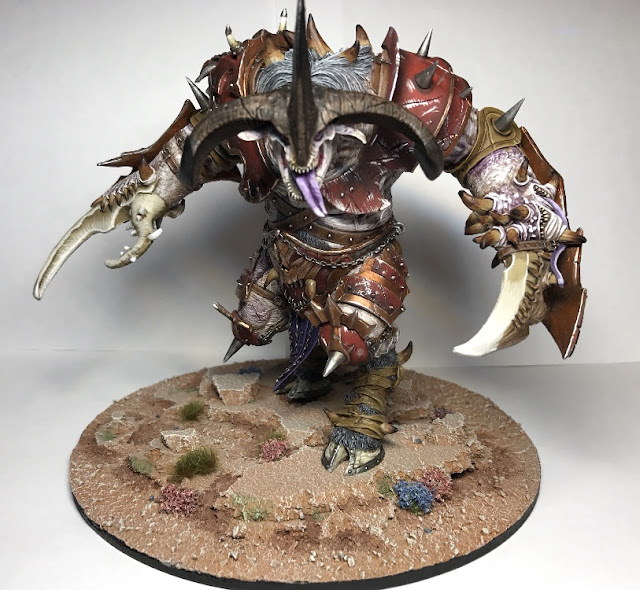
I am currently raffling off my painted Zhull from Mierce Miniatures (which is a perfect model to represent Forge World’s Skaarac). So before he goes to his new home I thought I would provide a few tips on how I tackle large miniatures.
Preparation
The first step is always a nice warm soapy bath with an old toothbrush, where you want to gentle scrub the components to release any mold release. If this is not done it can result in paint not adhering to the model, this is also the case for plastic models (although less so) but tends to be easier as you can clean the model while still on the sprues.
Assembly
Luckily this was one of the easiest resin/large models I have dealt with for a long time, this is mostly due to the large 'meaty' components which fit together very well. Some minor greenstuffing always seems to be needed regardless of the kit/manufacturer. On this model it was mostly around the upper arm joints (just above the biceps) and the join around the head. You always want to pay particular attention to joins which are smooth but still noticeable, a good example is the bicep joins on the GW Skarbrand Kit, Liquid Greenstuff in a few layers is particularly good for these kind of areas.
Undercoating
I went to my default undercoat choice of Halfords grey primer, this stuff is cheaper that a GW spray, gives you more, and covers just as well. I prefer a grey undercoat nowadays as it doesn’t wash the colours out in the same way as when you use a white undercoat and it is easier to paint basecoats over than a black undercoat.
Airbrush Work
I felt the airbrush would be of particular use for this project due to the surface area I needed to cover, an additional benefit of using an airbrush is the fact it creates beautifully smooth basecoats. I always focus on the biggest surface area that benefits the most from a smooth transition of colour; which in this case is the armour. The technique I use is very simple and focused on the largest surface area, which is the red armour. I basecoated the model with Mephiston Red, then I applied a zenithal highlight (spray from above at a 45 degree angle) of Evil Suns Scarlet and then flipped the model upside down to spray Abaddon black from below. This is a simple process and creates a nice effect by naturally highlighting and shading the model by the use of directional sprays. To help harmonise the colours I used a 50/50 mix of Lahmian Medium and Army Painter Strong Tone Ink (I prefer this to GW’s Agrax Earth) all over the red armour which helps blend the transitions together and re-defines the shaded areas that may have been hit by the Evil Suns Scarlet highlight. This was essentially all the work completed for the largest surface areas.
|
Here is the model once all these steps are finished |
|
Booty Shot! |
Next Steps
Once I have completed these stages I treat the model the same as any other, however never underestimate the amount of time it takes to paint a model of this size. Surface areas are so large that it simply takes long periods of time to even lay basecoats!
|
Yep, he's MUCH bigger than Skarbrand! |


